• Home
  • Recipes
  • About
  • Contact
  • PRESS
Menu

The dessert project

Street Address
City, State, Zip
Phone Number
Playing with sugar

Your Custom Text Here

The dessert project

  • Home
  • Recipes
  • About
  • Contact
  • PRESS

Blackberry Ice Cream

August 18, 2021 Gayatri
IMG_2554.jpg
IMG_2552

IMG_2552

IMG_2565

IMG_2565

Its no secret that i am not a summer person. When you’re younger, you’re tricked into thinking summer is awesome because it means 2 long lazy months of school vacation, waking up late, traveling to exotic locations and eating ridiculous amounts of ice cream. Enter adult life. Now i can barely manage a week’s window to get away for an exotic vacation, if at all i can afford exotic. In your twenties, exotic is just expensive and Delhi is sticky.

The good news is that the one great thing about summer - Ice Cream - comes in a million flavours and therefore, mathematically defeats all of Delhi’s awful summer tantrums. Ice cream and summer are nearly synonymous, although my personal belief is that Ice cream can and should be eaten any season of the year. Rich, luxurious, creamy ice cream complemented by the cold, fluffy feeling on your tongue the moment you start eating; you don’t really need a season for that - you don’t even need to have it after a meal - another myth we’re fed as children, the typical ‘don’t eat ice cream before dinner’ advise.

.

IMG_2564

IMG_2564

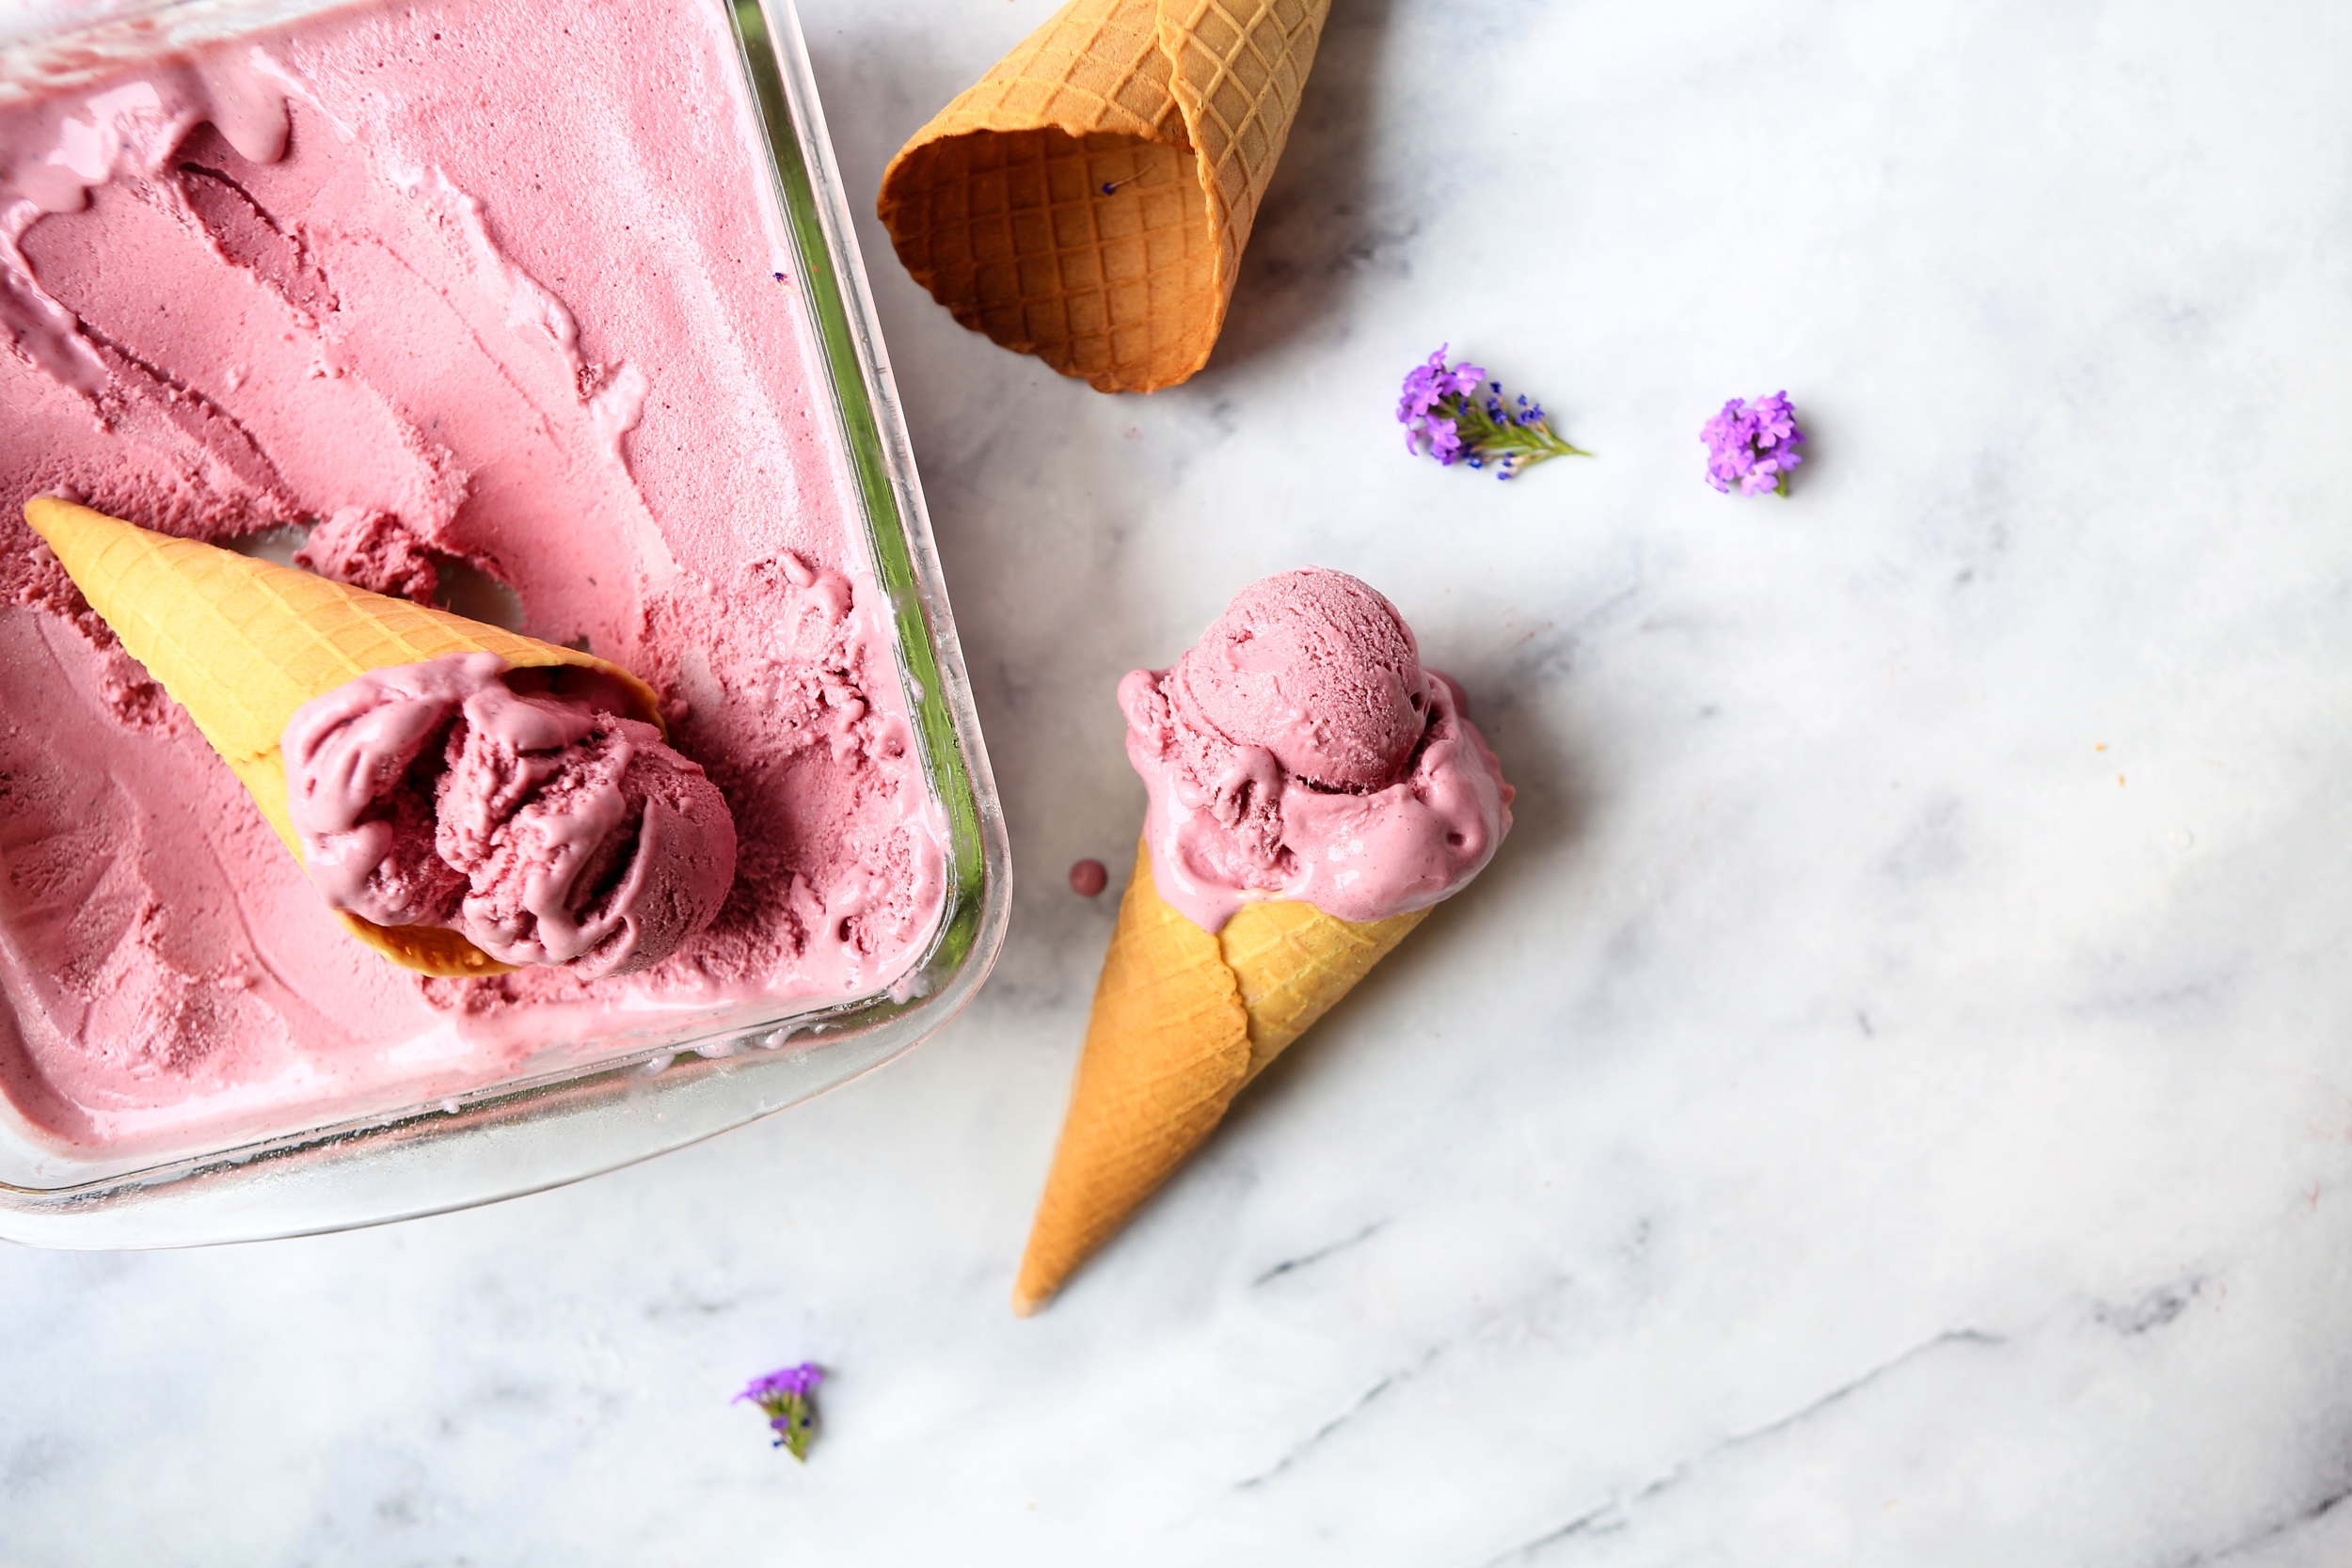
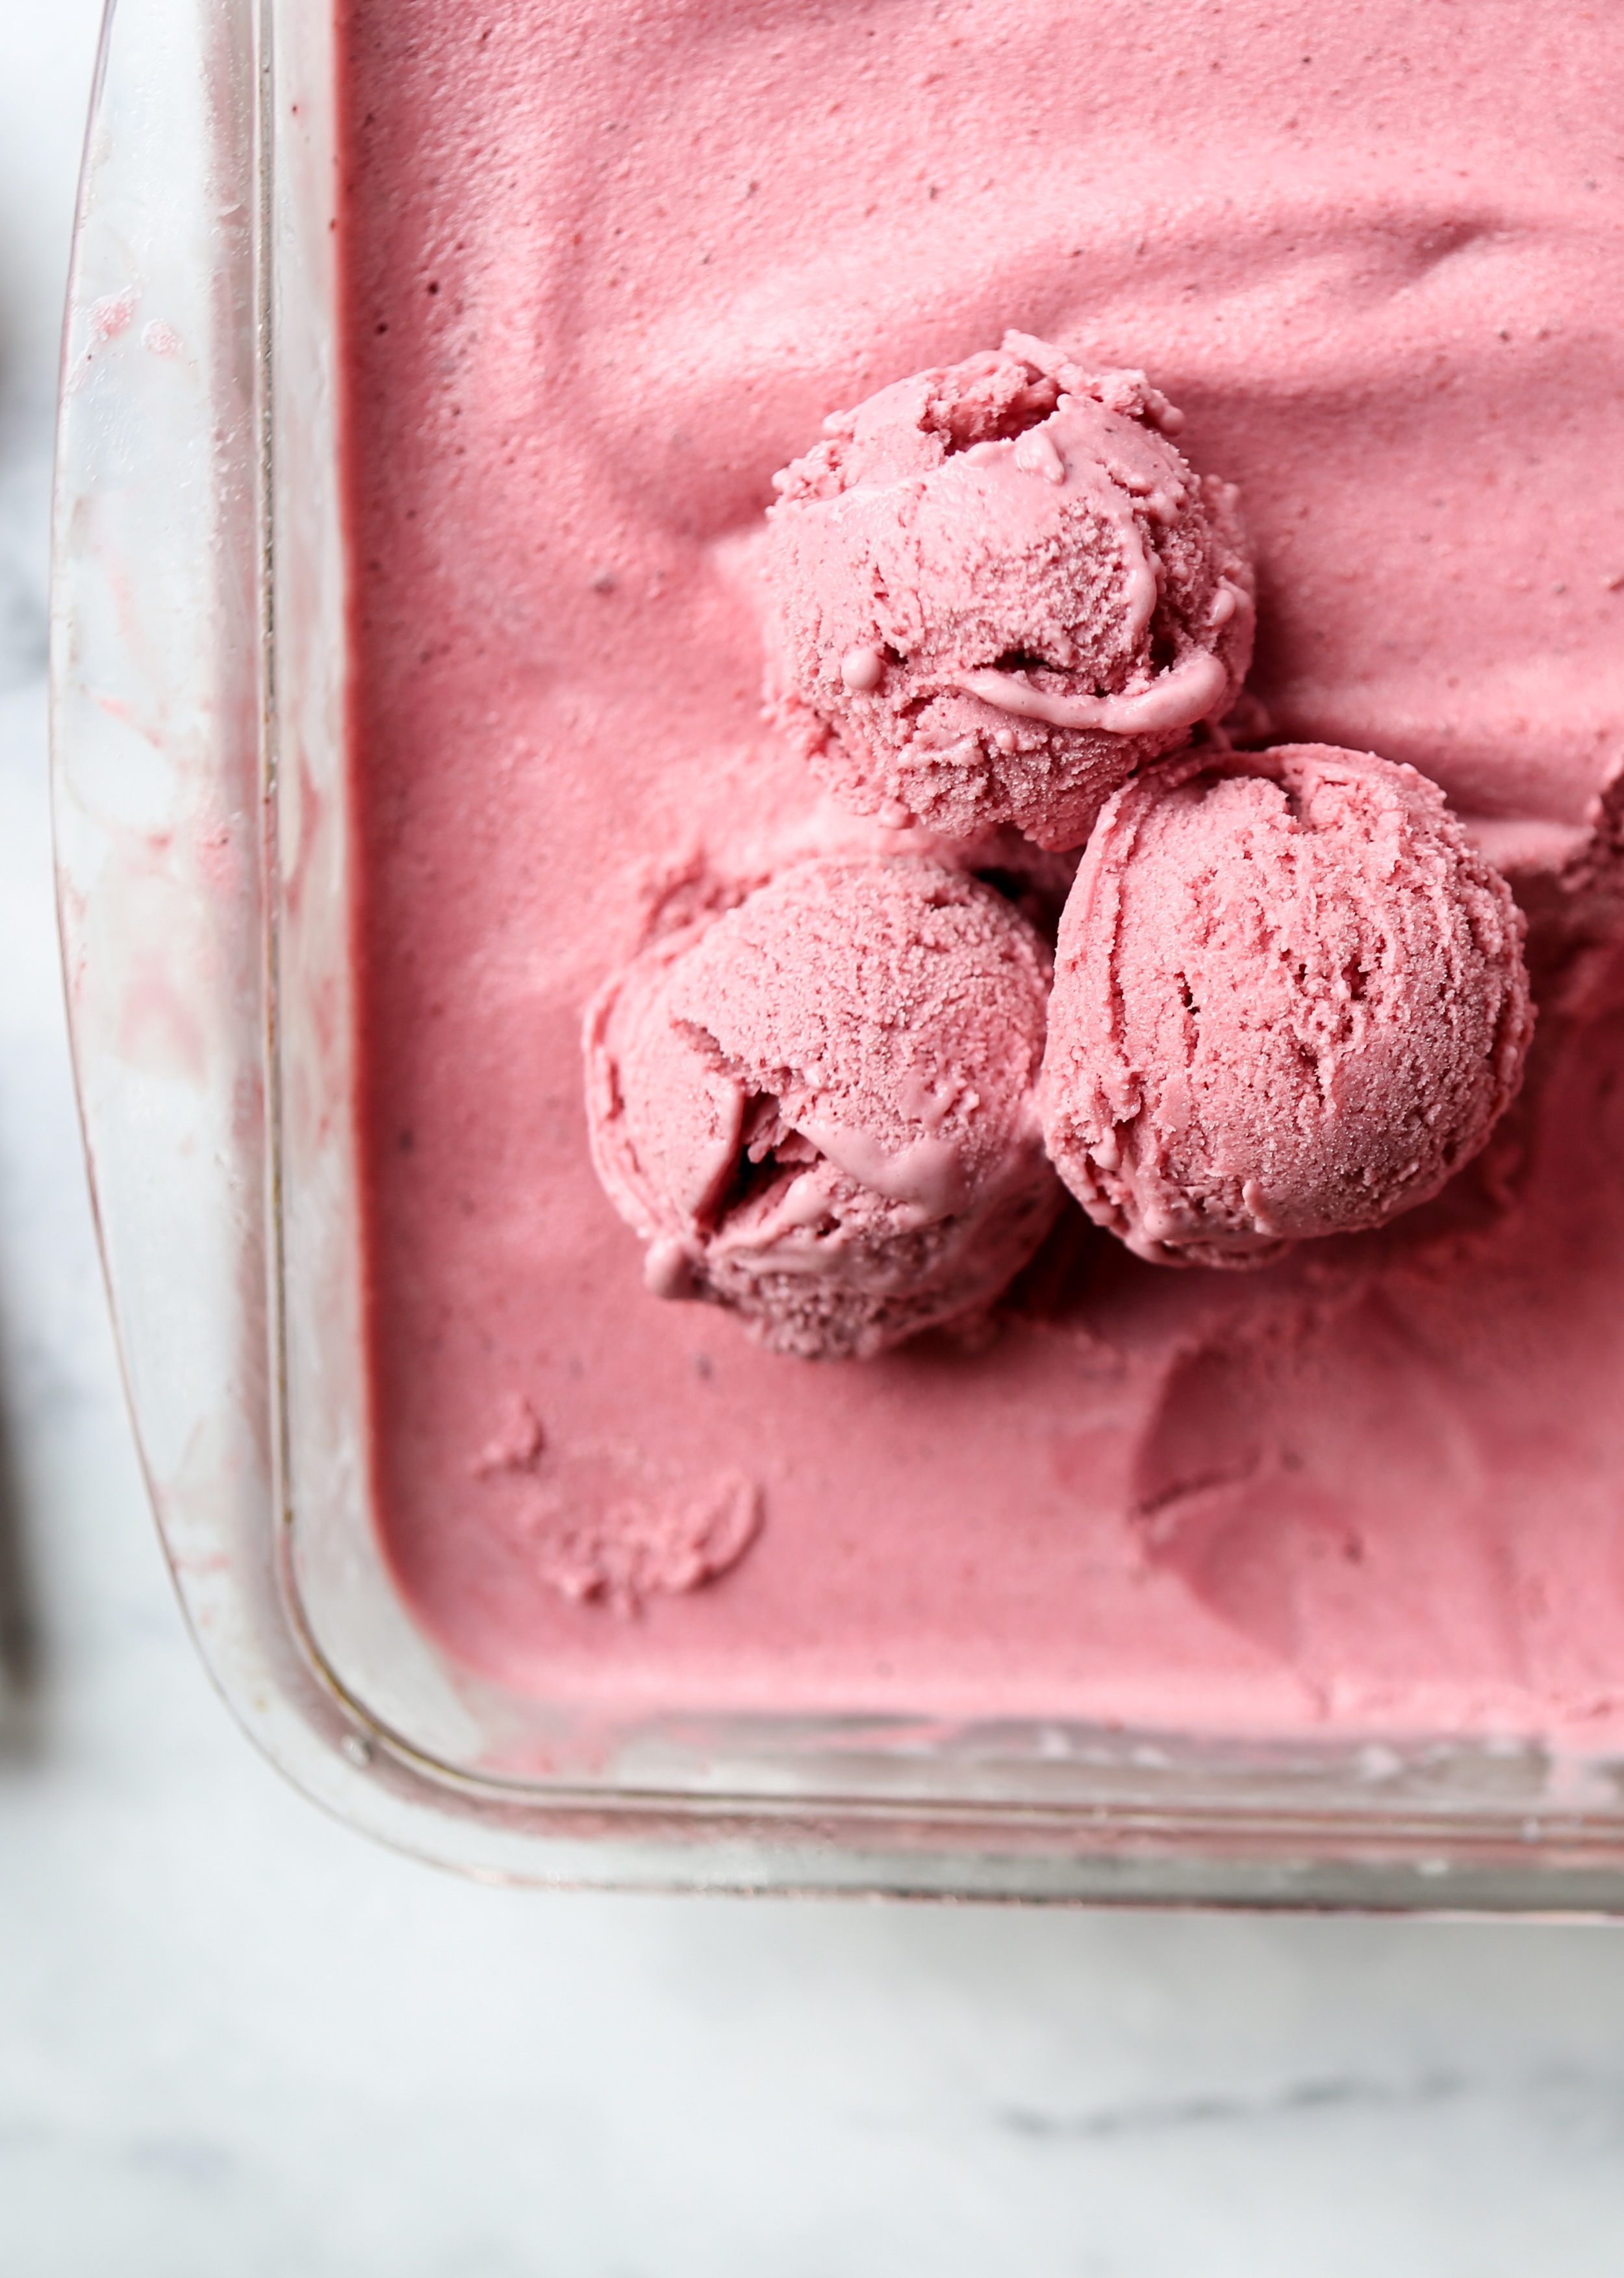
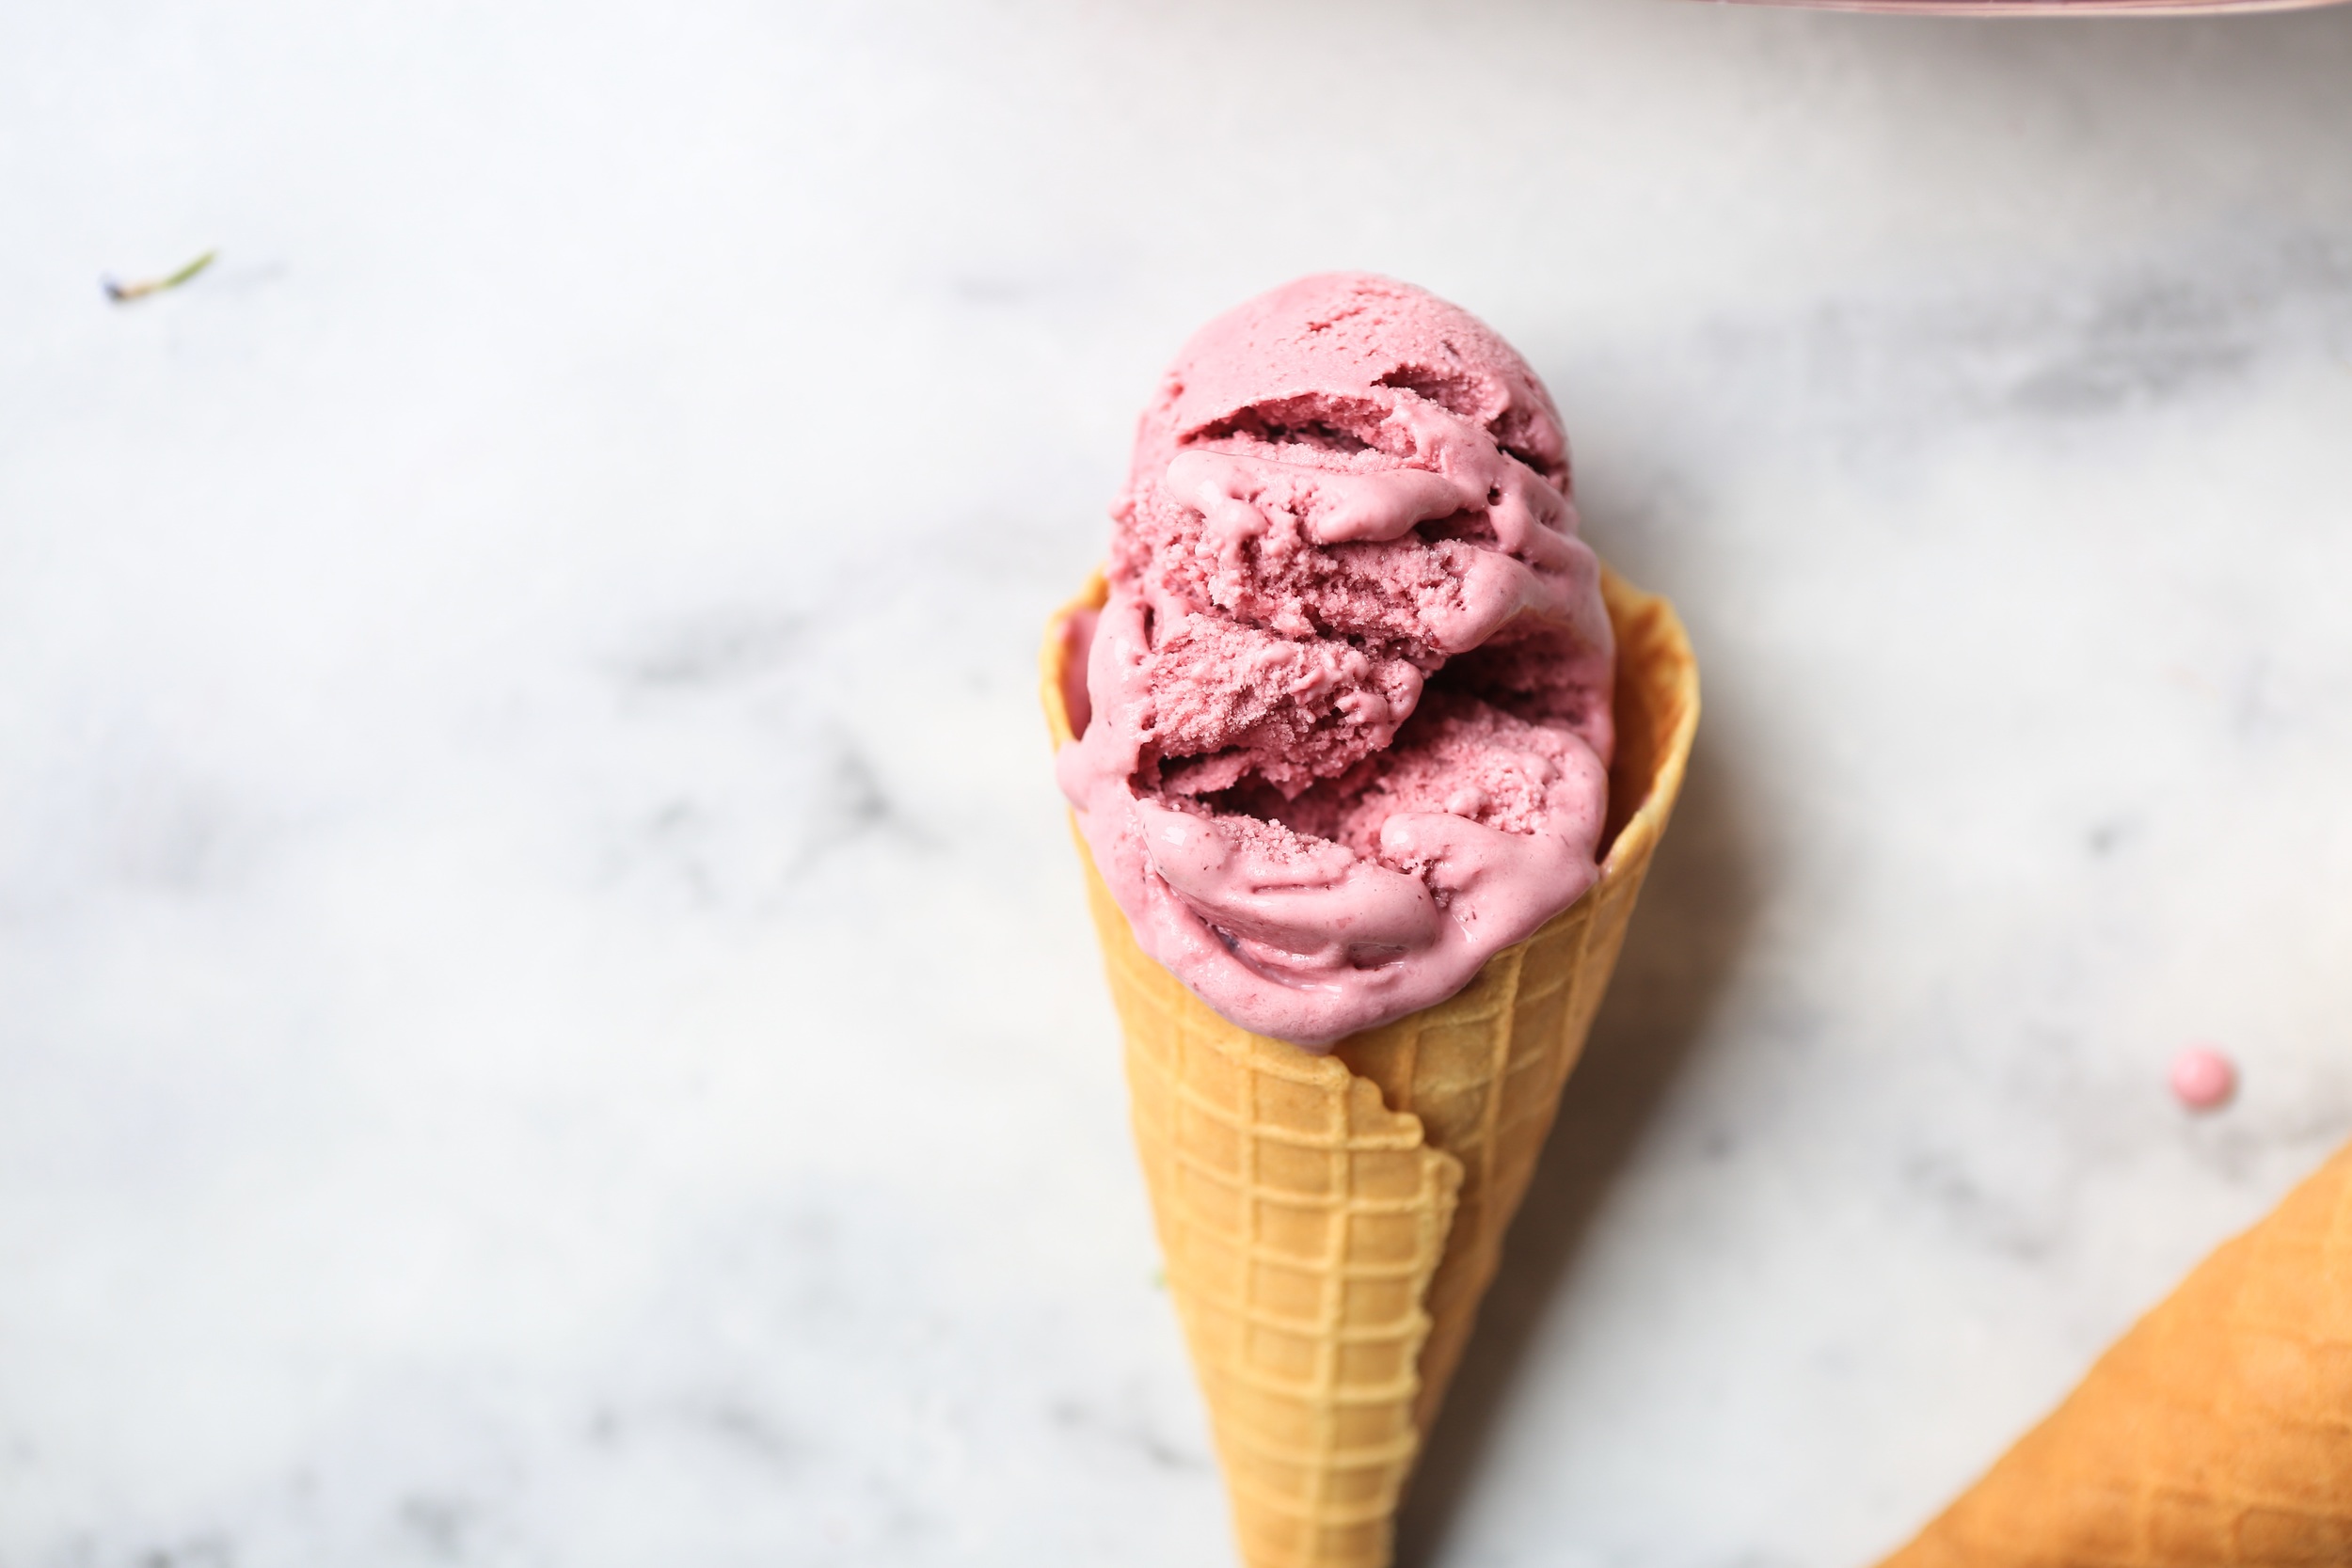
This blackberry ice cream is fantastic. I found the recipe on Food 52, the most trusty place on the internet for food lovers

It’s a no-cook ice cream which means no eggs and you don’t need to make a custard. PLUS, it’s literally one step. Literally. ONE STEP. Plus it’s pretty

Ingredients: 

1 can milkmaid condensed milk 

1 1/2 cups heavy cream 

1 1/2 cups milk 

2 cups strained pureed blackberries (see note) 

3 tablespoons lemon juice 

pinch of salt

special equipment: you will need an ice cream churner.

Blend the blackberry puree together with the heavy cream, milk, lemon juice and condensed milk thoroughly till it forms a smoothie-like consistency. 

Refrigerate in the blender itself, for about 3 hours 

Churn in a frozen ice cream machine container for about 45 - 60 minutes (depending on your ice cream churner instructions) 

When churned, quickly transfer the ice cream into a container put in the freezer for at least 6 hours. 

And its ready - how EASY was THAT?!

Note: I used frozen blackberries, and pureed them in a Vitamix, then strained them over a mesh strainer. You should have 2 cups measured after the straining. If it is too frozen to form a smooth puree, add the milk at this stage.

P.S - This is part of my #projectXicecream series, where I’m making SO MUCH FREAKING ICE CREAM this summer.

to see it all!

x

IMG_2563

IMG_2563

.

In Recipes Tags blackberry ice cream, blog, delhi, delhi bloggers, delicious ice cream, easy ice cream recipe, eggless ice cream recipe, Food, food bloggers, food bloggers in delhi, homemade ice cream, Ice Cream, ice cream cones, ice cream recipe, recipe, Summer, summer desserts, summer ice creams, yum, yummy
11 Comments

butterscotch cake with chocolate glaze

May 9, 2021 Gayatri S

What are the 'makings of good baker' ? Is that a thing? I know the rules. Be organised. Mis en place. Clean workspace. read the full recipe in advance.  I am not good at doing any of these. I'm impatient and I'm not always well organized.  I bake with whatever ingredients are lying around and I add things along the way that were never a part of the recipe. Of course it doesn’t always come out well. But that’s when the creativity kicks in. How do you repurpose a fallen cake ? What can you do with burnt caramel? I try my best not to waste ANYTHING and improvise, turning disaster into dessert.

This butterscotch cake with chocolate glaze evolved from a haphazard day in the kitchen and multiple recipe books open on the counter, youtube videos playing the background. The recipe looks complex, according to my mum, but after i convinced (read: forced) her to try it, she agreed that it is actually a bunch of simple things put together. It is time consuming though!

—

In other news, my life in the kitchen feels like a microcosm (microcosm? microcosm!) for my life as an adult overall - a little haphazard and uncertain but also so fun and so rewarding. Besides the fact that i’ve gotten locked out of my apartment 4 times this past month and the smoke alarm sometimes goes off when i burn my toast - im not a morning person), I’m really getting better at being an adult. Adulting is wildly unglamorous. But its kinda nice too. It is… drinking out of real wine glasses instead of solo cups. But also, separating your laundry. :)

More later

RECIPE

For the cakes
160 g brown sugar
210 g flour + 1 tsp baking powder + 1 tsp baking soda + pinch of salt
3 eggs
1 tsp vaniilla
1/3 cup cream
200 g unsalted butter 

Frosting:  

Butterscotch sauce: 
1 cup sugar
1/2 cup cold water
1 cup ceam 

Buttercream: 

4 egg yolks

130 g sugar
1/3 cup water
300 g unsalted butter

Chocolate glaze
60 g dark chocolate
1/4 cup cream
2 tbsp corn syrup
2 tsp scotch whiskey 


Prep: 
Pre-heat your oven to 180 ˚ C. 
Line 2 7-inch baking pans with parchment paper
Use a pastry brush to butter the pans and dust with flour. 
Measure out all the above ingredients and set aside. 
Ensure that the butter is softened and eggs are room temperature. 

Baking: 
Mix the flour, salt, baking powder and baking soda in a bowl and set aside. 
To make the cakes, first cream the brown sugar and butter in the bowl of a stand mixer, for about 3 -4 minutes, till it’s fluffy and lighter in colour. 
Add vanilla. Add all 3 eggs, one at a time. Scrape down the sides of the bowl and beat again. 
With the mixer operating at very low speed, add the flour gradually. Let it mix in a little between each addition. 
Lastly, add the cream and beat again. 
The cake batter should now be a balanced consistency, not too liquid and not too thick. 
Divide the batter equally between the two pans and bake at the centre of the oven for about 25 minutes. 
Check for doneness : Dip a toothpick into the cake, it should come out clean. Or lightly touch the centre of the cake - it should be soft and should spring back. 
When done, take it out of the oven and let it cool on the rack for about 30 - 60 minutes. 
Once cakes are completely cool, remove from the pans gently, wrap in cling film and refrigerate. 

To make the frosting: 
First make the butterscotch sauce - in a medium saucepan over medium heat, combine water and sugar and heat. Do not stir. 
The sugar will melt and slowly begin to caramelise and turn golden. 
Swirl the pan around at frequent intervals and ensure that its cooks evenly
Be patient. This will take about 10 - 15 minutes in all. This part also requires careful attention, so don’t go off and do other things. 
Let the sugar syrup turn a deep amber colour. 
Immediately remove from the pan and very carefully add the cream. The mix will bubble up vigorously. 
Use a whisk to mix it in and add a pinch of salt. 
stir thoroughly for about 4 - 5minutes until a thick glossy butterscotch sauce is formed. 
Set aside to cool

For the buttercream - beat the egg yolks  in the bowl of your stand mixture thoroughly until pale in colour. 
again, heat sugar and water in a medium saucepan and stir until the sugar dissolves completely.Beat
Let it cook, stirring frequently, using a wooden spoon. 
Use a candy thermometer to test the temperature. 
When it reaches about 250 ˚, gradually and very carefully pour the sugar syrup into the bowl of the stand mixture. Keep the mixer of low speed and pour the syrup in a steady strream down the side of the bowl. When all the sugar syrup is poured in, increase mixer speed to high and let it whip. 
With the mixer still on, add all the butter, one cube at a time. Let the mixture whisk for about 5 - 7 minutes. You should now have light and fluffy buttercream. 
With the mixer on medium speed, add in the cooled butterscotch till the butterscotch buttercream is ready 

For the chocolate glaze  
Gently heat the cream and corn syrup on medium heat until it comes to a simmer
Pour it over the chocolate and whisk. The chocolate will melt from the heat of the cream. Whisk until smooth
add scotch and stir. 
Rrefrigerate for about 10 - 15 minutes. 

Assembling the cake: 

Place one cake on a board and spread a generous layer of buttercream all over the top. 
Gently place the 2nd layer of the cake on top. Cover the top and sides of the cake with a thin layer of buttercream.
Refrigerate the cake for about 20 - 30 minutes. 
Take the cake out of the fridge and spread another thick layer of buttercream frosting over the top and sides. 
Use a small offset spatula to even out the frosting and create a smooth finish.  
Refrigerate the cake again for about 20 minutes. A chilled cake will help the glaze to drip smoothly down the sides. 
Use a spoon to slowly drip the chocolate glaze on the edges of the cake, letting it drip down the sides. 
In the end, spoon the glaze over the centre of the cake and use an offset spatula to gently spread it smoothly across the top.  
Decorate the top with sprinkles or leave it plain, like i did! 

And it’s ready to serve !

In Recipes Tags recipe blog, food lover, cake recipes, butterscotch cake, delicious, delicious cakes, cake recipes chocolate, cake photos, Cakes, recipe, yummy cakes
6 Comments

Celebration Chocolate Cake

December 18, 2018 Gayatri S
300F20B3-DF54-47EC-A174-2998F577C1EE.JPG
31428E2E-821F-47F1-8DD8-DD973666312B.JPG
B852BEC2-C241-418A-AABC-32C0AF240EAC.JPG

Huge piece of good news: I graduated! Which means, my obstacles-prediction was wrong as I didn’t 1) fail statistics in the first quarter (I got a B, so ok, Im no wizard but still) and 2) Die of the cold (not sure if you guys remember me literally crying on Instagram when I was stuck in a snowstorm in APRIL - wearing heels!) So I would say, I’m pretty satisfied with how 2018 has panned out. 

grad pic 1.JPG
grad pic 3.jpg
grad pic 2.jpg
10753502848_IMG_1023.jpg

My parents couldn’t make it for graduation, so I brought a little bit of home to me here in Chicago with this cake.  If I had to make one dessert that says ‘HOME’ to me, its this chocolate cake with chocolate fudge frosting. This cake did the rounds on our dining table 5 times a year, one for each person’s birthday, plus once on Rakhi and on most other special occasions. 

My mum calls it a ‘2-minute chocolate cake’ which is a lie because it most definitely takes more than 2 minutes but it’s incredibly quick and easy. (My mum would come home from work on our birthdays and have it ready by dinner.)

If you follow me on Instagram, you’ve probably seen me make it a hundred times over (literally made 36 of these for my friendicoes fundraiser). Its so simple, so delicious and reeks of classic, nostalgic flavors like salty-sweet chocolate, and a soft, pillowy texture with a fudgy frosting slathered on top. 

 I shouldn’t have to convince you any more. MAKE THIS CAKE. 

Cake

Ingredients

  • 2 eggs 

  • 1/2 cup vegetable oil 

  • 1/2 cup cocoa 

  • 2 cups sugar 

  • 2 cups flour 

  • 2 tsp baking powder 

  • 1/2 cup warm water 

  • 1/2 cup yogurt or sour cream 

  • 1/4 tsp salt 

  • 2 tsp vanilla extract 

Process: 

  • Pre-heat oven to 350˚F (180˚C). Line 2 8-inch cake pans with parchment paper 

  • In a bowl, mix the flour, baking powder and salt. 

  • In  large mixing bowl, beat the sugar and oil together. You will have a pale mixture. 

  • Add eggs, one at a time, beating after each addition. 

  • Add vanilla and beat. 

  • Mix the cocoa powder and warm water in a separate cup and stir until smooth. 

  • Add the cocoa mixture into the oil-sugar-eggs mix and beat until combined. 

  • Alternatingly, add the flour mixture (1/4 cup at a time) and yogurt and beat until just combined (Do not over beat) 

  • You should have a batter that’s not too thick and not too runny. 

  • Divide the batter into the 2 pans and bake for about 25 - 30 minutes or until a skewer inserted in the centre comes out clean. 

Frosting (from Nigella Lawson) 

  • 3/4 stick unsalted butter 

  • 6 ounces bittersweet chocolate 

  • 2 1/2 cups confectioners sugar 

  • 1 tbsp light corn syrup 

  • 1/2 cup sour cream 

  • 1 tsp vanilla extract 

Process:

  • Melt chocolate and butter together in a double boiler over low-medium heat 

  • Let it cool. In the meanwhile, sift the confectioners sugar to remove lumps 

  • Add the corn syrup to the cooled chocolate mixture, followed by the vanilla and sour cream 

  • Lastly, add the confectioners sugar (one spoon at a time) and beat until fluffy. 

To assemble the cake, 

Trim the rounded tops of the cake using a serrated knife (this step is optional - only if you want a perfectly flat cake, otherwise don’t waste cake and let it be rounded) 

Place one layer of the cake on the plate and spread frosting on top. 

Cover with the top layer and do the same. Frost the top and sides tightly and sparsely to create a crumb coat. 

Slather on the remaining frosting on the top and sides. 

Decorate with sprinkles or fruit!

In Recipes
Comment
Older Posts →
Hello - welcome to the dessert project, where I bake, eat, photograph, experiment and basically play around with all things sweet! Thanks for stopping by and shoot me a message if you'd like to chat! x

Hello - welcome to the dessert project, where I bake, eat, photograph, experiment and basically play around with all things sweet! Thanks for stopping by and shoot me a message if you'd like to chat! x

INSTAGRAM

👀
Cupcake dreams 💭
Hardest goodbye
Brownie tower
Why choose between brownies and cheesecake when you can have both. Yolo
Made cheesecake brownies with my leftover ingredients ! Thank you for all the suggestions you guys sent 🙏🏽🙏🏽

Powered by Squarespace