
Hi guys ! Hows everyone’s weekend going ? If you’re having a typical Saturday, battling a hangover like I am, I feel you.
What is your hangover dealing routine ? Is it a shower, a workout, a giant cup of coffee ?
My standard go-to hangover routine is French fries and coffee, arguably a strange combination but somehow it does the trick. Anyway, today I swapped the French fry ritual with a giant slice of red velvet cake, and it was like comfort on a plate. If comfort was red and slathered with cream cheese.
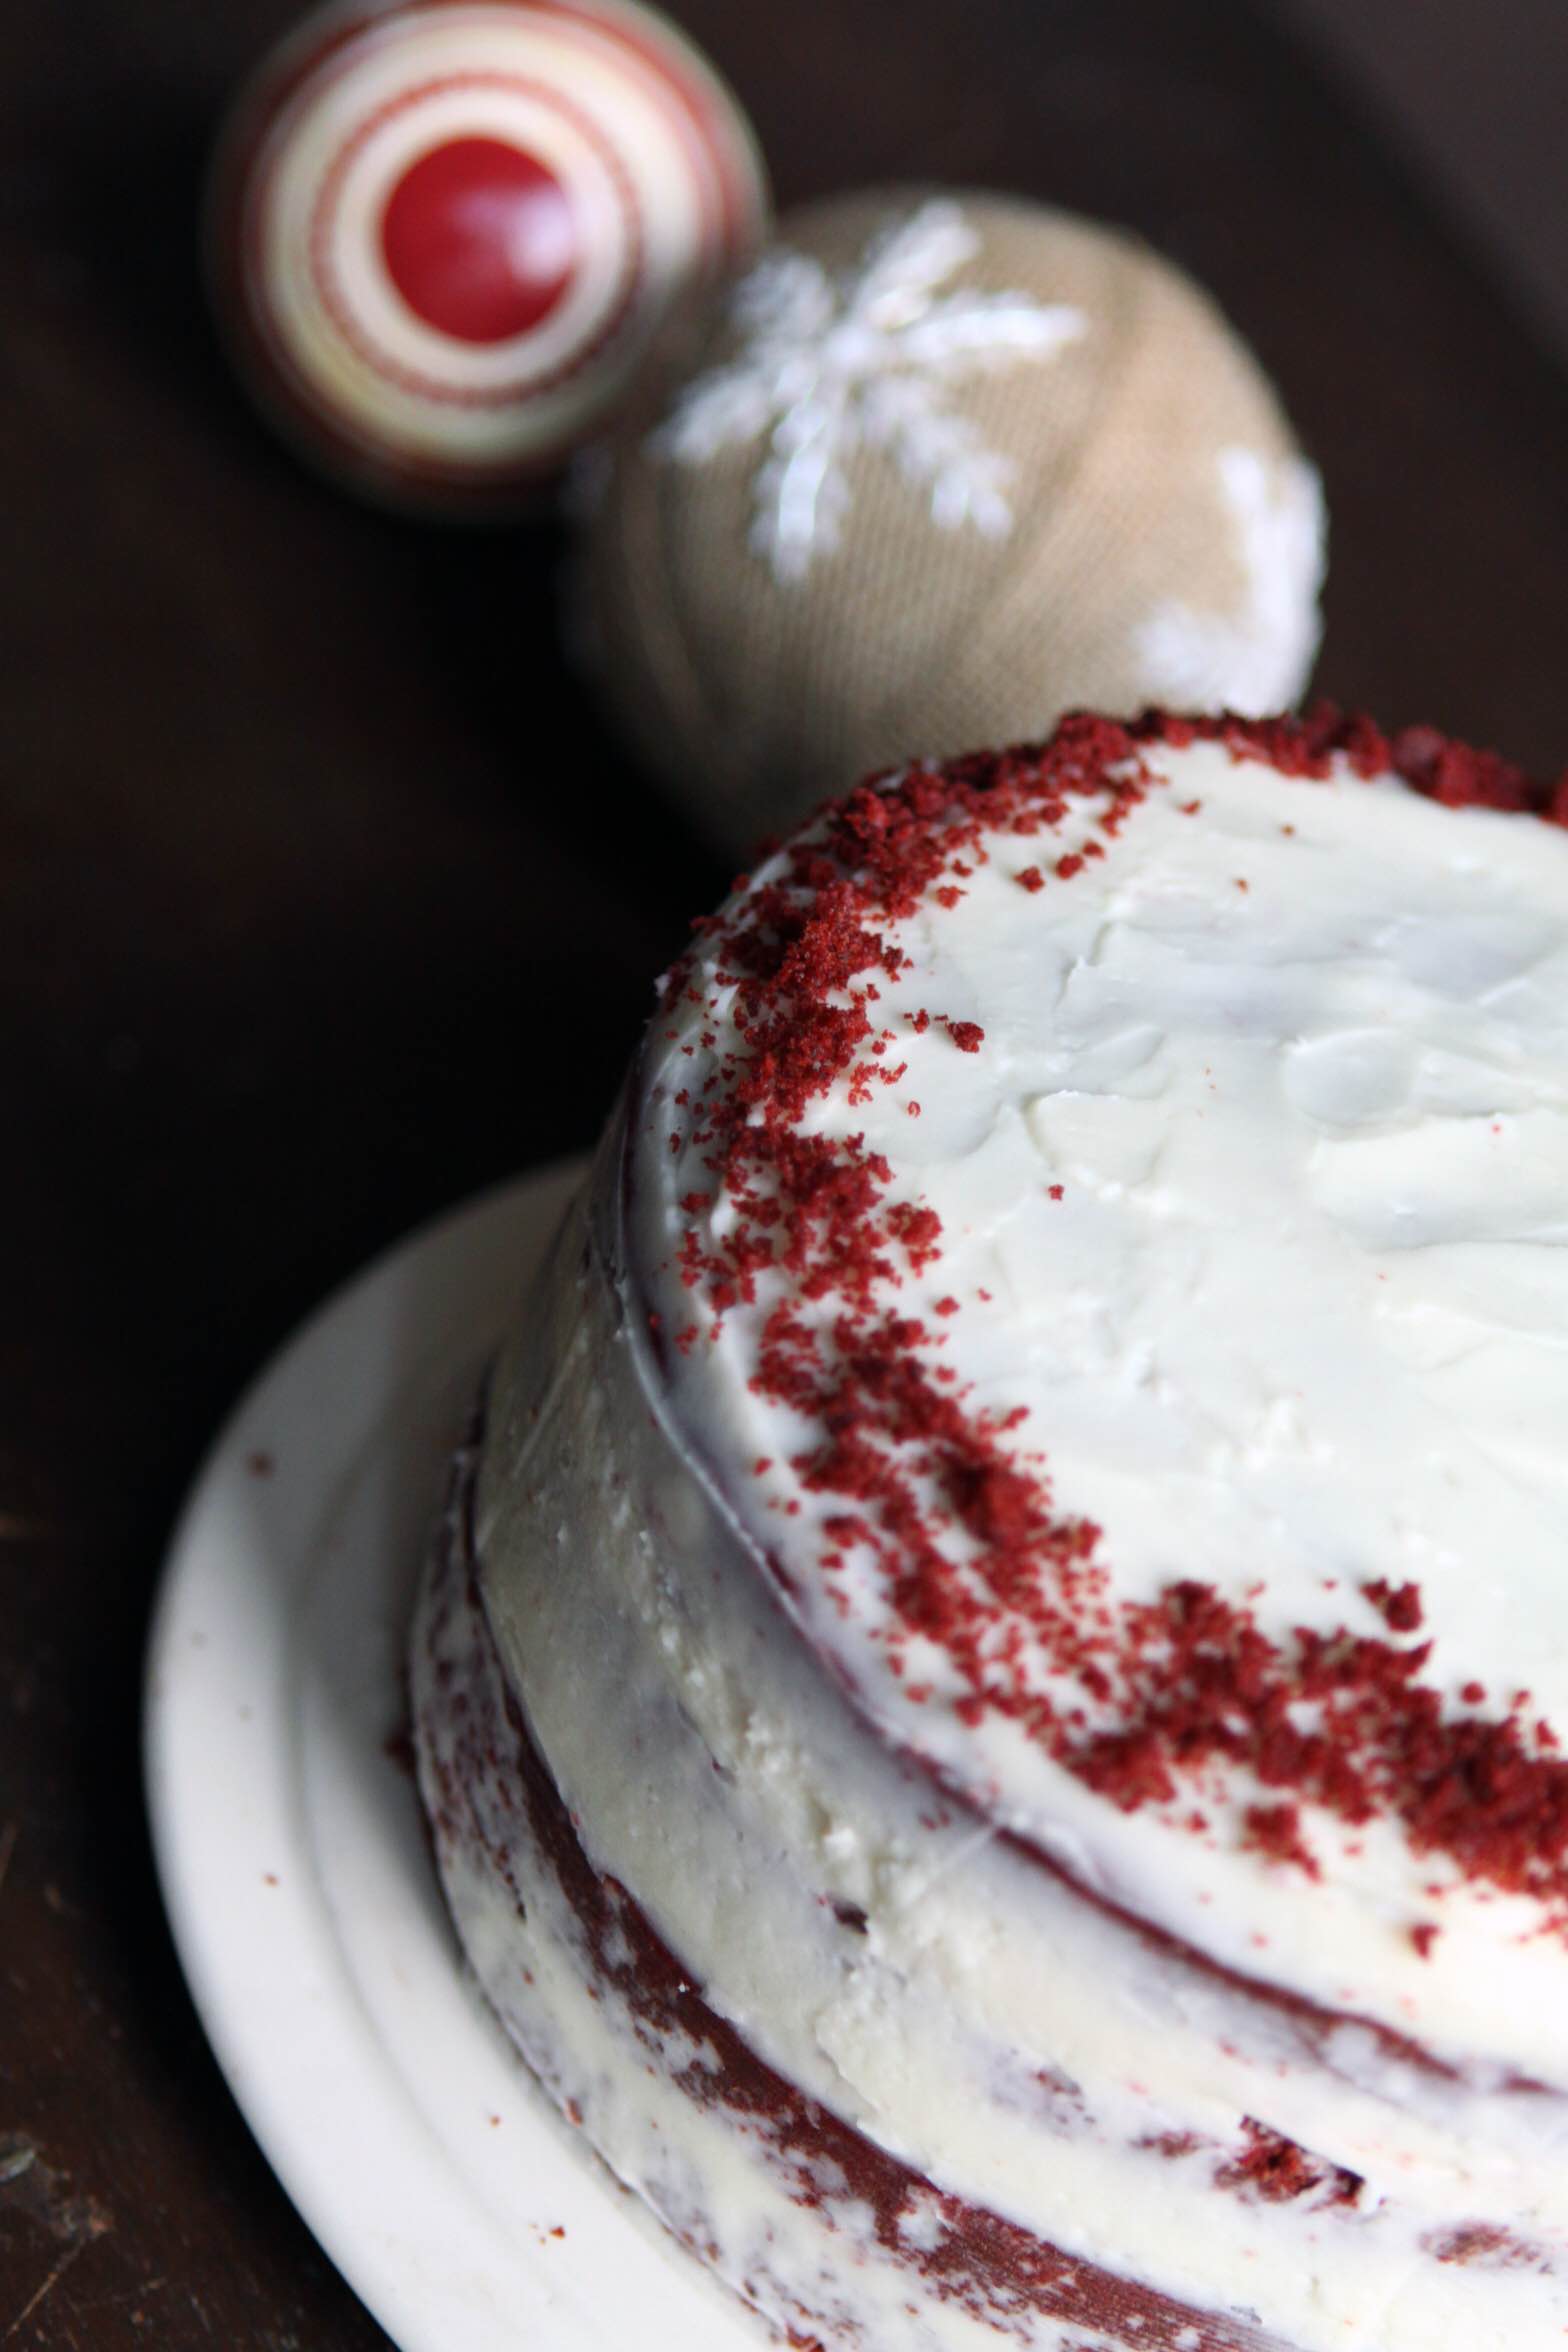
I’ve been making red velvet cake for a while now, way before I started really baking and thought there was something cool about it. But the truth about red velvet is that its just a light cocoa sponge with red food colouring. But but but, sandwich some cream cheese frosting between the layers and you have yourself a pretty delicious cake!


Also, I recommend a layer of frosting for every half inch layer of cake. In this particular cake, frosting is everything, and for it to be the really delicious creamy, soft spongy cake that you imagine it to be, the frosting to cake ratio needs to be perfect. So I make 2 layers in 2 separate cake pans and then slice each layer into half, making it a 4 layer cake. So that increases the surface area for the frosting so it can be really generously put into the cake.
Okay im done being scientific/mathematical about things, I had a moment of nerdiness and its over now.
Here’s how to make a kickass red velvet cake (adapted from Joy of Baking, Ritu Dalmia's cookbook and the Epicurious - experts on experts on experts)
CAKE:
250 grams sifted flour + baking powder + baking soda
1/2 teaspoon salt
20 grams cocoa powder
115 gm unsalted butter softened
300 gm granulated white sugar
2 large eggs
1 teaspoon pure vanilla extract
240 ml buttermilk
3 tablespoons liquid red food coloring*
1 teaspoon white vinegar
1 teaspoon baking soda
FROSTING:
1 ½ Pkt Philadelphia cream cheese
60gm butter
120 gm icing sugar
1 tsp vanilla extract
Preheat oven to 180˚ C. Butter two 8 inch round cake pans and line the with parchment paper (Very important!) . Set aside.
In a bowl sift the flour, salt, and cocoa powder, baking powder and baking soda. Set aside.
In another bowl, beat the butter and sugar until light and fluffy (about 3 minutes), using an electric mixer. The mix should now look pale yellow, almost white.
Add the eggs, one at a time and beat. Add the vanilla extract and beat until combined. Scrape down the sides with a spatula.
In a cup, whisk the buttermilk with the red food coloring
*(amount of food colouring varies a little, depending on the brand you use. You want to add enough so that the buttermilk mixture is a strong red.)
Alternately add the flour mixture and buttermilk to the mixture, folding continuously. (basically add the flour mix, then buttermilk, then flour mix again, then all the rest of the buttermilk, then flour mix again until all of it is combined)
In a small cup combine the vinegar and baking soda. It will fizz a little. Add to the cake mixture and immediately fold.
Divide the batter evenly between the two cake tins. Bake for approximately 30 minutes or until a cake tester inserted into the center comes out clean. Let the cakes cool at room temperature and then wrap in cling plastic and refrigerate the layers for about 30 minutes.
Meanwhile, get on the frosting.
Cut the Philadelphia Cream Cheese and butter into cubes and whisk using an electric mixer. Add the icing sugar spoon by spoon, whisking throughout.
To assemble:
Slice each cake layer in half, down the middle, using a serrated knife, so you now have 4 equal layers.
Generously frost the first layer with the cream cheese frosting and neatly place the next layer on top. Repeat.
When all layers are frosted, frost the top and sides with a thin layer of icing. Then refrigerate the cake for about 15 minutes.
Lastly, take out the cake from the fridge, and use all the leftover frosting to frost the rest of the cake.Dust with red cake crumbs.
EAT !